
If you would like to pick a language other than “English (United States)” as your main language, follow these instructions:
Important:
- make sure your computer is connected to the Internet via hard wire or wi-fi.
- make sure you are logged in as an Admin (see FAQ “(Very) Basic Getting-Started Guide (incl Admin password)” for default password info
- Please note that the support for languages varies. That is why you specify a Main language as well as one or more backup languages: if an item is not available in the main language then the backup or secondary language will be used instead.
- If you are running into an error installing a new language, try updating your machine first.
Instructions:
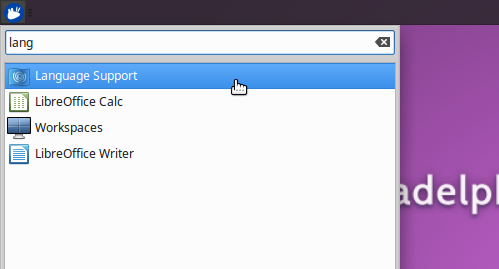
Click the Xubuntu main menu icon on the top left of your screen.
Type “language” and then click the “Language Support” app when it appears.

In the Language Support app, click the Install/Remove Languages… button

Click the checkbox/es for the language/s you wish to add.
Then click the Apply button to confirm.

In order to make your newly added language the main language, you have to drag it to the top of the active listed languages. Sometimes this is hard to do unless you resize the window.
To resize the window, click the triangle at the top left of the window. Choose the Resize command and then resize your window (make it taller).
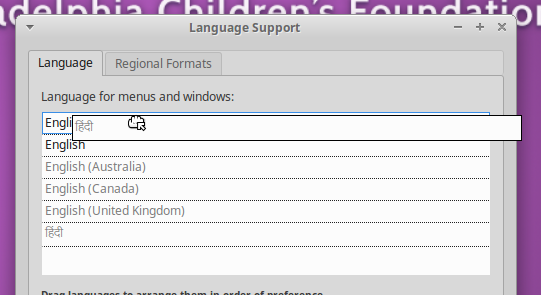
Drag the language you wish to use to the very top of the list. Hindi in the example above.
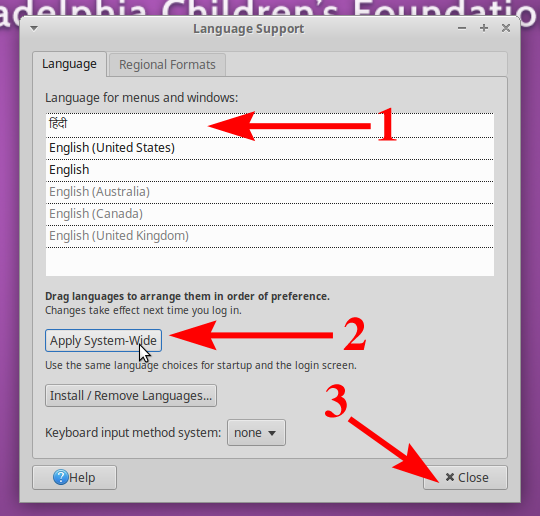
After you drag your main language to the top of the list, click the “Apply System-Wide” button.
Close the window and restart your machine.

To restart, press the power button on your computer or gop to the main menu and click the power button. Choose restart from the menu.
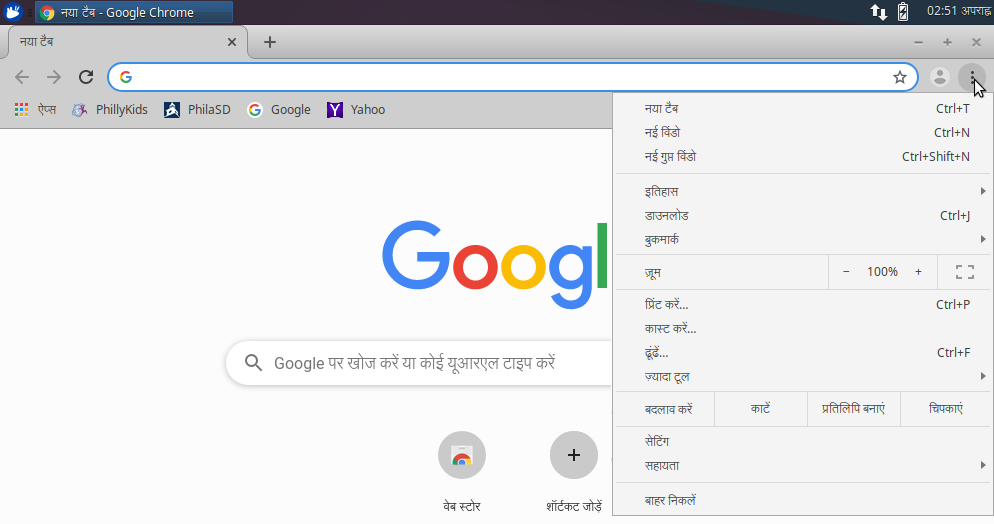
Please note that different applications will offer different levels of support for other languages. For instance, Chrome is fully translated to Hindi but Firefox is not.