

Over the years, PCF has “refurbished” and “imaged” thousands of computers that were given away to schools, other programs/organizations and to families directly. In this post, we thought we’d describe what’s involved in doing so.
The first step is for us to procure the equipment. We are lucky to have generous donors donate their computers to us. Companies might donate hundreds of machines at a time and individuals often donate one or two.
PCF then sorts them by brand and model, mostly for the purpose of ensuring that when we give away more than one computer, that they use the same charger.
PCF purchases laptop chargers as needed. We often use Alibaba or eBay for these bulk purchases. We have tried purchasing these locally from electronics recyclers but they are not set up for selling stuff, especially if it involves separating and sorting items first. So we might buy a charger for less than $5 in bulk from Alibaba that might cost 10x or more from Amazon.
Our partner Keystone Memory Group provides PCF with the rest we might need free of charge: keyboards, monitors, mice and any cables we might need.
In some cases, we may have to install a hard drive or RAM memory and clean the insides of the machines.
So then comes time to prep the machines and the big question/issue there is what operating system to put on them. Most of the time, we clone a Linux ‘master’ machine that we set up for this purpose but in some cases, we will provide users with Windows machines. Windows requires more work on the recipient to set up and they are much more susceptible to malware. As such, we reserve Windows for users that have a specific need for Windows and/or if they are tech savvy enough to deal with it.
The cloning is a system that has taken us quite some time to refine but it works well most of the time. We basically create a master machine that is exactly the way we want it set up: up to date Linux OS on it, an account configured for students, a separate account for the parent or teacher, apps preloaded that users might need, etc. Once that master computer is exactly the way we want it set up, we make what is called an “image” of it. Basically a bit-for-bit copy that we can then copy/”mirror” onto other machines. The big advantage of this “imaging” method is:
- the machine is all set up when users get them; users do not have to register or do anything else to get started
- we configure the student user with extra privacy protection (in regards to the use of location, camera, browsing history, etc.)
- Linux is very robust and very unlikely to be affected by malware over time.
- The version of Linux does not need to be updated for years.
- Linux is very lightweight; it makes old machines run fast.
To clone the machine (wipe the new machine and copy the files to make that new machine just like our master), requires we start up from a USB flash drive that contains a system (to boot from) as well as the “image” of the master machine we want to replicate. This is where things get a little tricky/messy and in rare cases we are unable to complete the process.
To boot from a USB requires we tweak the BIOS of the machine to allow us to do so. This involves reviewing all the “setup” options including the USB, hard drive, security, and startup options. And since every machine uses its own BIOS settings, this requires some attention. And, as is sometimes the case with corporate donated desktop machines, we may to unlock the BIOS by pulling jumper pins on the board.
But once we are able to boot from the Flash drive, we’re good to go. We launch the Terminal app on the USB drive, tell it to take the image and mirror it to the machine. Once it is copied (5 to 12 minutes), we just have to do one more thing which is to tweak the size of the internal hard drive, save our stuff, restart and test.
If we are processing identical machines and have the room to spread out and physically plug in dozens of computers at the same time, we can plow through them quickly. While we have no official records, we think our record was upwards of 200 laptops in the Logan Elementary library in under three hours 🙂
Finally, we physically clean the machine and remove any stickers and dirt we find.
We then add our label and put the clone revision number on it so we know how up to date the machine is when we give it away. The sticker is kind of interesting: the school district will not accept used computer donations. But by us adding our sticker and technically providing schools with our computers on loan, we have been able to circumvent this restriction and place thousands of computers in schools over the years.
The entire imaging process is done at home as PCF does not have enough funding to rent an office space for this purpose. We do rely on personal garage storage space and a rental storage facility to store our equipment. On occasion, especially when working with volunteers to assist in the imaging, we will use a gas-powered generator and process the machines at our storage facility.
Note: The creation of an “image” from a master machine and the creation of the USB flash drives is quite complicated and omitted here. As of July 2025, PCF is up to its 37th revision of a master machine; we have created a new master and made new flash drives 37 times so facr mostly so that we, or our recipients, do not have to do extensive updates when they receive our machines.
View our detailed cloning/”imaging” instructions here »
-

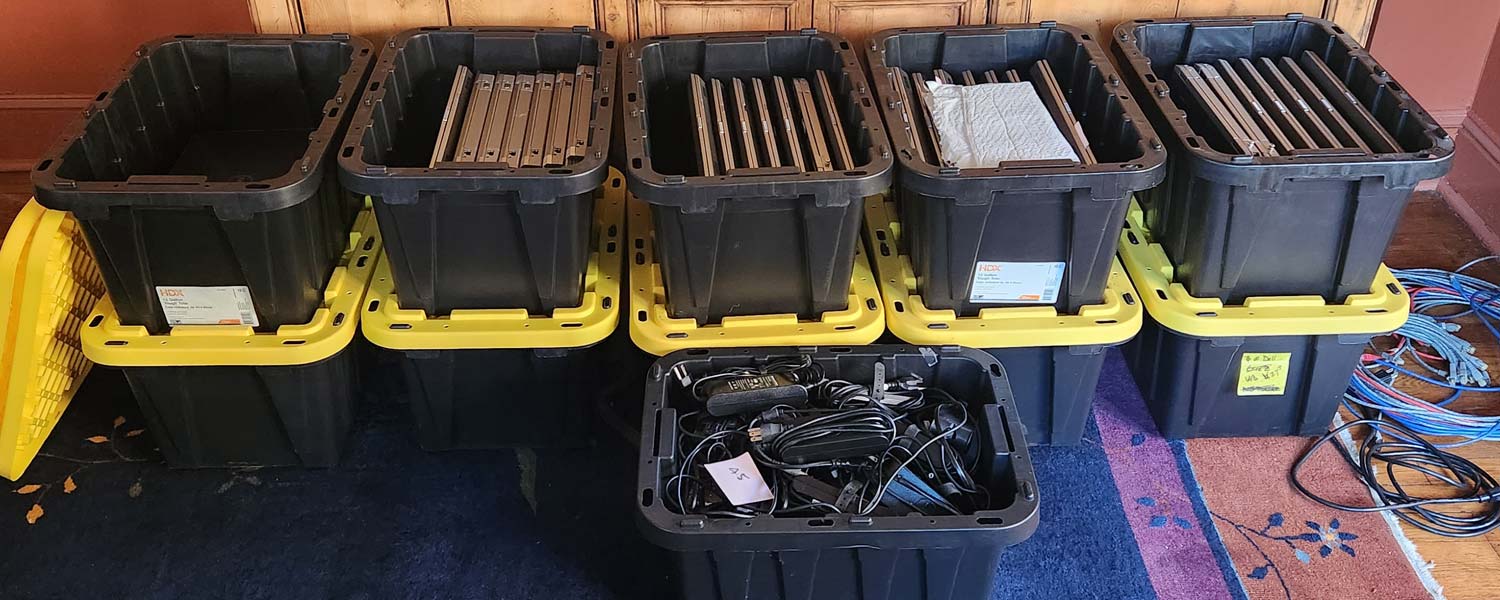
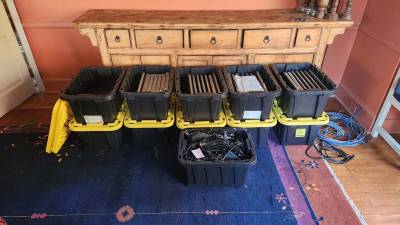
- PCF has standardized on these tubs in order to keep our storage organized. They stack well.

-
- Each tub holds up to 12 laptops or many chargers.

-

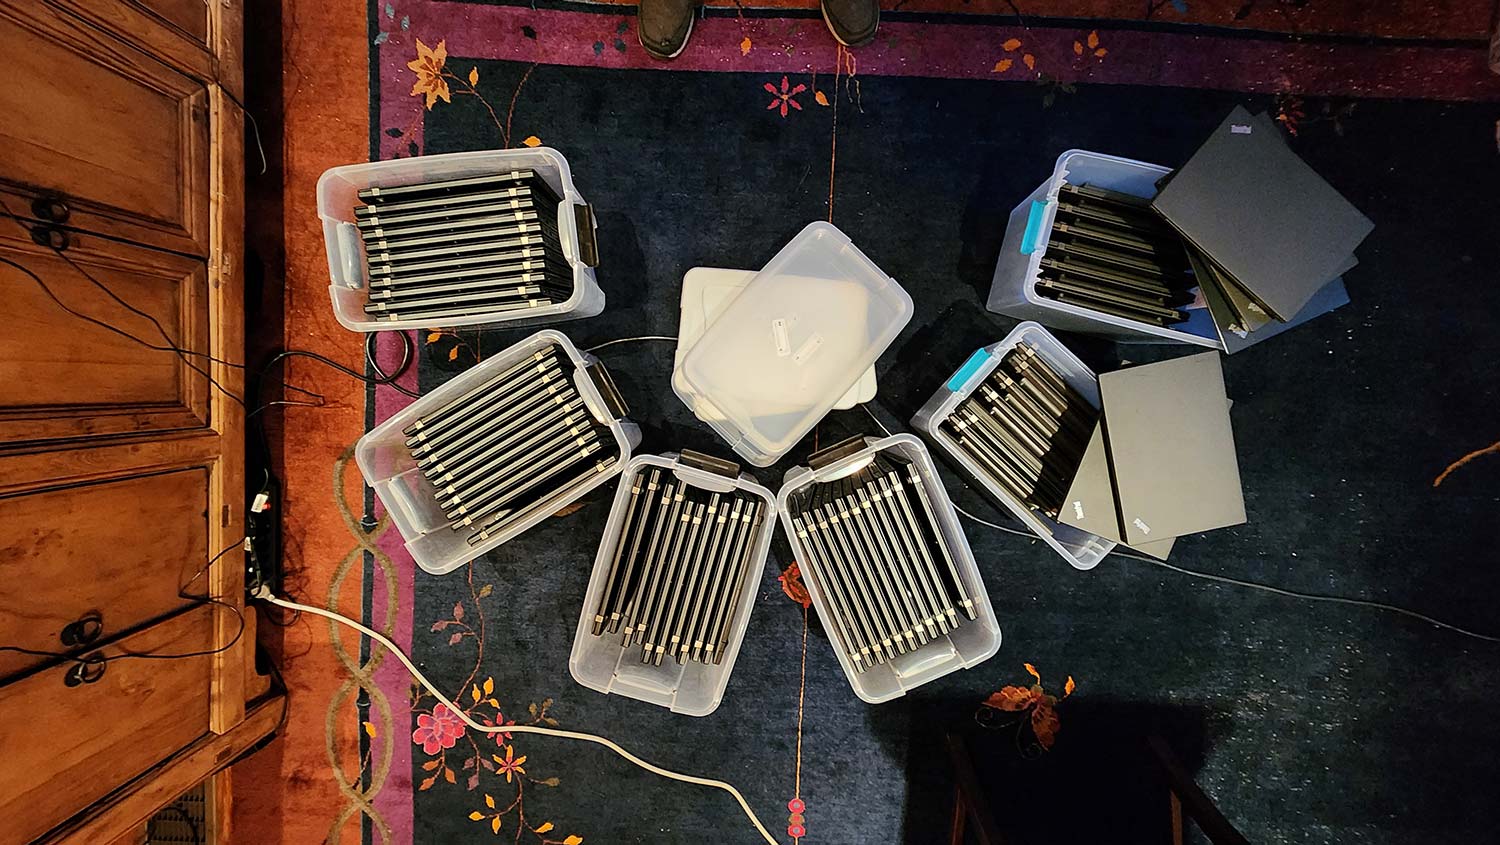
- If we gift the recipient storage then we will use smaller ones to keep the weight down.
-

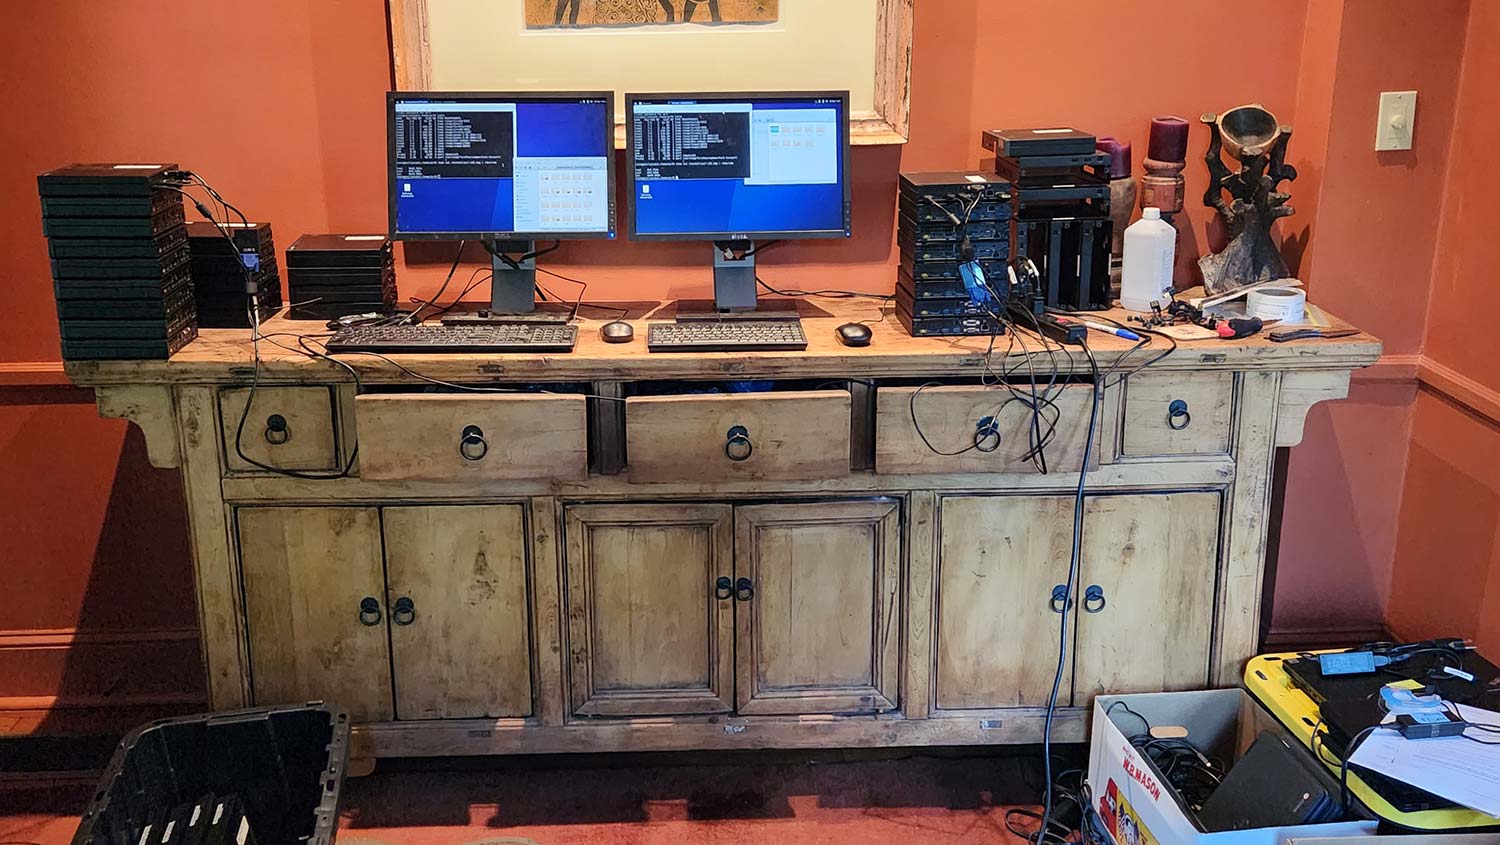
- A dining room sideboard serves to image small (“tiny”) desktops, two at a time.
-
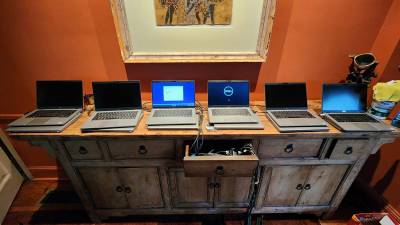
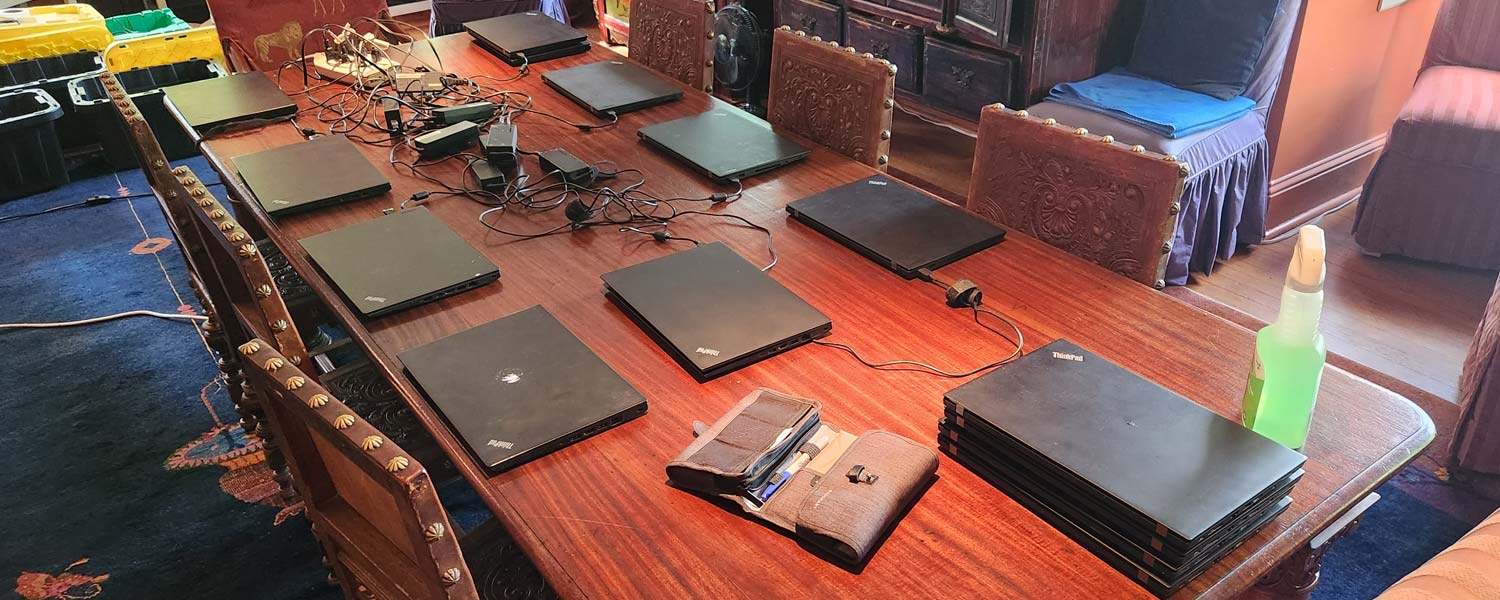
- Or 6 or more laptops can be imaged.

-
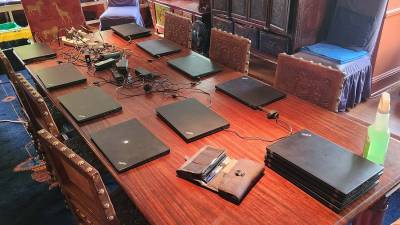
- If needed, we spread out more. It is all about how many we can power up at once.

-
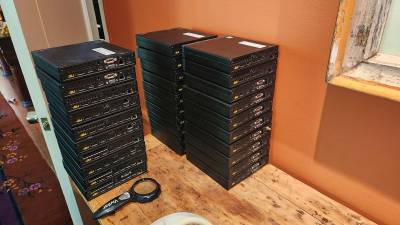
- Stacks of Tiny desktops donated by a local University.

-
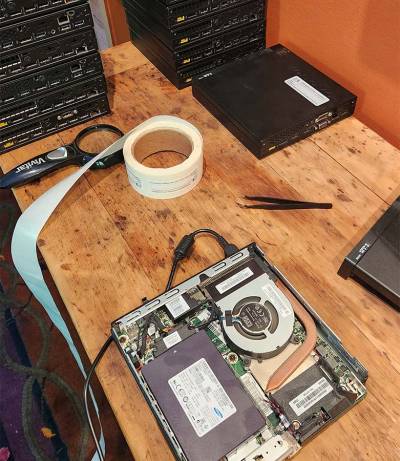
- Corporate donated desktops are often locked so we have to short the pins to reset the machine.
